Detailed Explanation Of Water Pump Installation
1. Foundation inspection
The foundation coordinates, elevation, dimensions, and reserved holes should meet the design requirements. The foundation surface is flat and the concrete strength meets the equipment installation requirements.
1) The plane dimensions of the water pump foundation should be 100~150mm wider than the base of the water pump unit on all sides when there is no vibration isolation installation; when there is vibration isolation installation, it should be 150mm wider than the vibration isolation base of the water pump on all sides. The top elevation of the foundation should be more than 100mm higher than the finished surface of the pump room floor when there is no vibration isolation installation, and more than 50mm higher than the finished surface of the pump room floor when there is vibration isolation installation, and no water accumulation should be formed. Drainage facilities are set around the periphery of the foundation to facilitate water discharge during maintenance or to eliminate accidental water leakage.
2) Oil, gravel, soil, and accumulated water on the surface of the water pump foundation and the reserved holes for the anchor bolts should be cleaned; the threads and nuts of the embedded anchor bolts should be well protected; the surface of the pad iron should be chiseled flat.
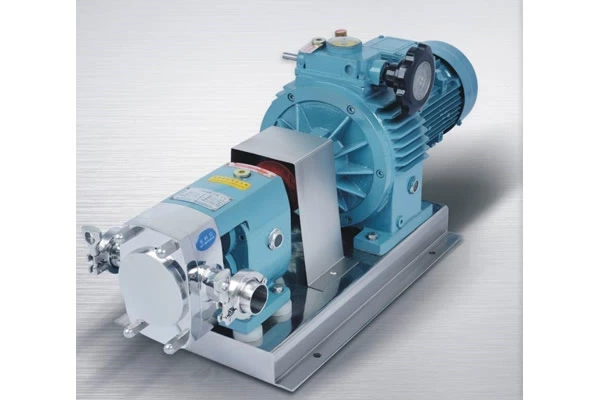
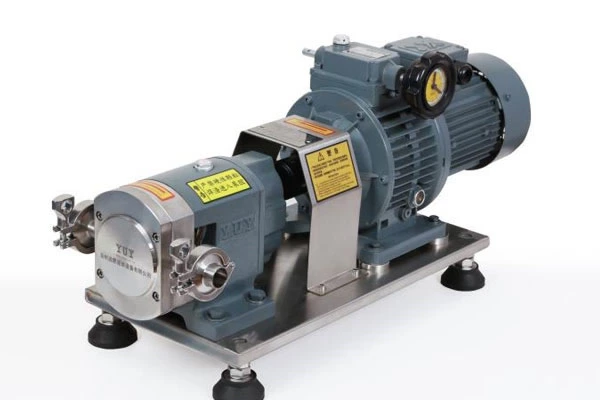
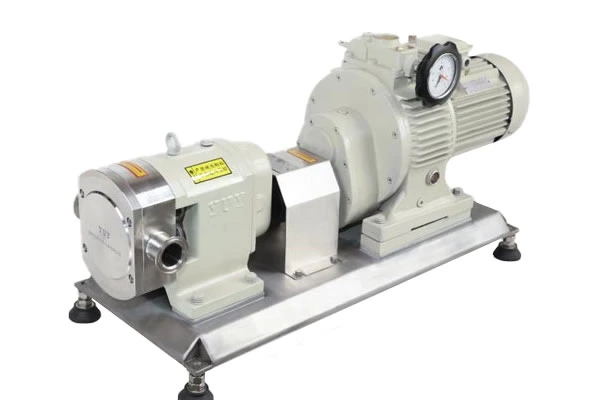
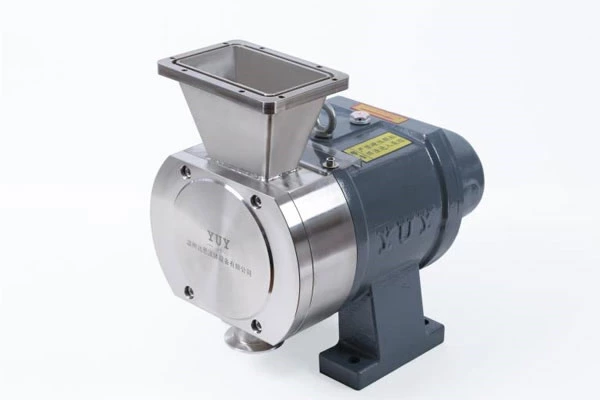
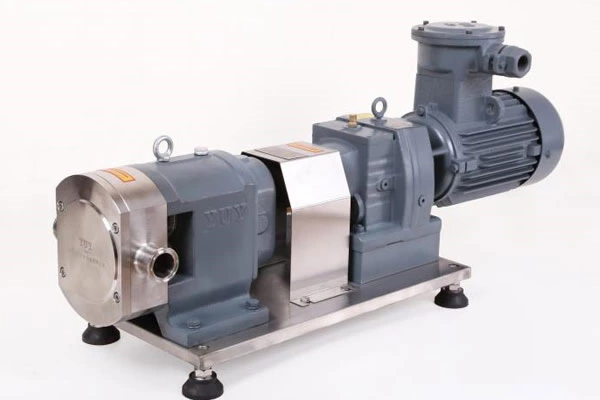
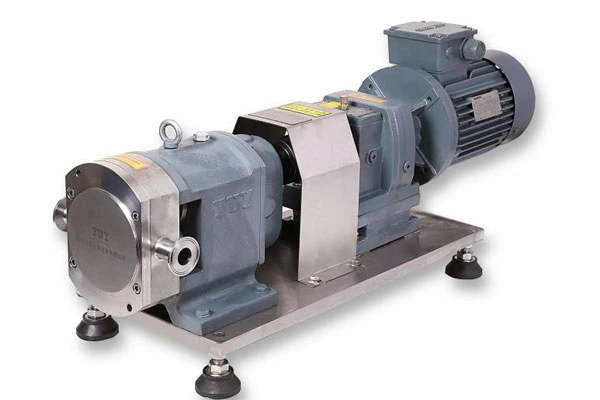
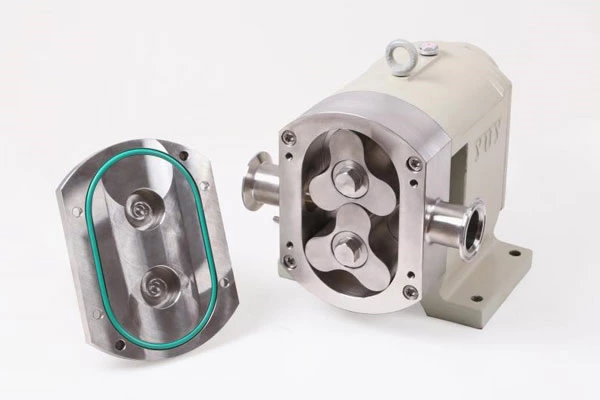
2. Sanitary Rotary Lobe Pump installation
Place the water pump on the foundation and use shims to align and level the water pump. After the water pump is installed, the same set of shims should be spot welded together to prevent loosening when stressed.
1) The water pump is installed without vibration isolation.
After the water pump is aligned and leveled, install the anchor bolts. The screw should be vertical and the exposed length of the screw should be 1/2 of the screw diameter. When the anchor bolts are grouted for the second time, the strength of the concrete should be 1~2 grades higher than the foundation and not less than C25; the grouting should be tamped, and the anchor bolts should not be tilted and affect the installation accuracy of the water pump unit.
2) Vibration isolation installation of the water pump.
① Vibration isolation installation of horizontal water pumps
The vibration isolation measure for the horizontal water pump unit is to install rubber shock absorbers (pads) or spring shock absorbers under the reinforced concrete base or steel base.
② Vertical water pump vibration isolation installation
The vibration isolation measure for vertical water pump units is to install rubber vibration dampers (pads) under the base of the water pump unit or under the steel pad.
③ Rigid connection is used between the base of the water pump unit and the vibration damping base or steel pad.
④ The model specifications and installation position of the vibration damping pad or vibration damper should meet the design requirements. The vibration damper (pad) under the same base should use the same model product from the same manufacturer.
⑤ During the installation of the vibration damper (pad), measures must be taken to prevent the water pump unit from tilting. After the vibration damper (pad) of the water pump unit is installed, measures must also be taken to prevent the water pump unit from tilting when installing the water inlet and outlet pipes, accessories and accessories of the water pump unit to ensure safe construction.
3) On-site assembly of large water pumps
When the water pump and motor of a large water pump are separated and assembled on site, the precautions are as follows:
① Make a steel bracket on the concrete foundation according to the design drawings, and fix it to the foundation with anchor bolts for rough leveling.
② The water pump and motor are in place.
If the motor needs to be checked by core pulling before installation, it should be ensured that the enameled wire skin of the motor rotor and stator winding is not knocked. Check whether there are foreign objects in the stator slot; test whether the gap between the rotor and the stator is uniform and whether there is a waist sweep phenomenon; whether the motor bearing is intact. Replace the lubricating oil.
If the water pump needs to be cleaned, it needs to be disassembled. When the bearing bush is used, the bearing bush gap needs to be tested to avoid excessive looseness or shaft sticking.
The coupling of the water pump and the motor is fixed with a key and the shaft, and it is required to be installed flat. It can be measured with an angle ruler or a level ruler. Everything is ready and it can be installed.
3. Inspection and adjustment
Use a level and a plumb line to measure and adjust the inlet and outlet flanges and the base processing surface of the water pump, and install the water pump precisely. For the integrally installed water pump, the horizontality of the horizontal pump body should not be greater than 0.1/1000, and the verticality of the vertical pump body should not be greater than 0.1/1000.
When the water pump and the motor are connected by a coupling, use a dial indicator, feeler gauge, etc. to measure and adjust the axial and radial directions of the coupling. The axial inclination of the coupling should not be greater than 0.8/1000, and the radial displacement should not be greater than 0.1mm.
When adjusting the concentricity of the water pump and the motor, loosen the bolts on the coupling, the bolts connecting the water pump to the motor and the base, and use thin steel plates or thin copper sheets of different thicknesses to adjust the angular displacement and radial displacement. Slightly pry up a corner of the motor or water pump that needs to be adjusted, and pad the thin steel plate or thin copper sheet cut into the shape shown in the figure below on the bolt.
When the test is qualified, tighten the original loosened bolts.
4. Lubrication and refueling
Check the oil cup of the water pump and refuel, turn the coupling, and the water pump should be flexible and without abnormal phenomena.
5. Trial operation
Open the water inlet valve and the water pump exhaust valve to fill the water pump with water, and close the valve on the water pump outlet pipe. First, start the water pump to check if there is any abnormality and whether the direction of the motor meets the pump's direction requirements. Then start the water pump, slowly open the valve on the outlet pipe, check the operation of the water pump, the temperature rise of the motor and bearings, the pointer values of the pressure gauge and vacuum gauge, and the pipe connection. They should be normal and meet the design requirements.