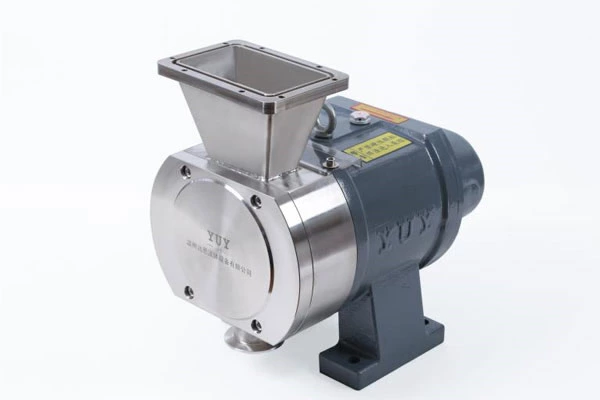
Correct Use Of Standard Chemical Pumps
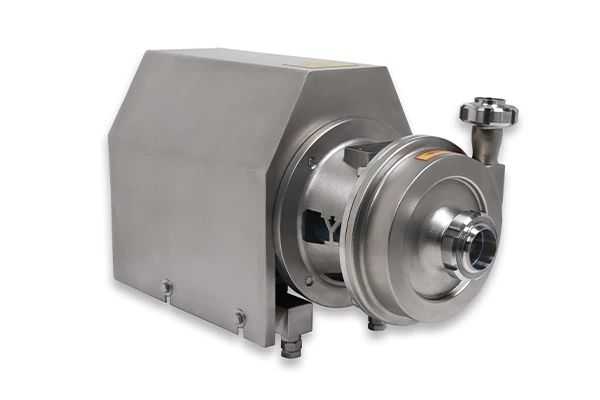
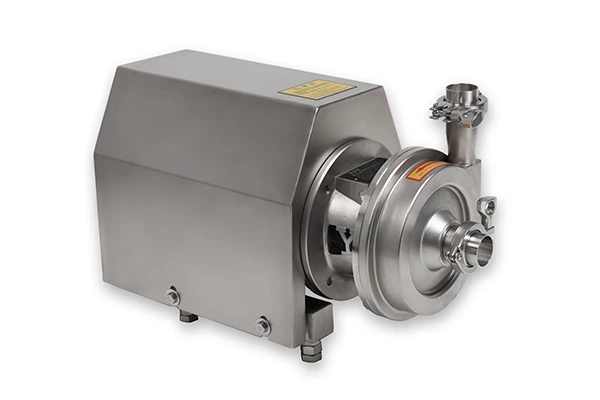
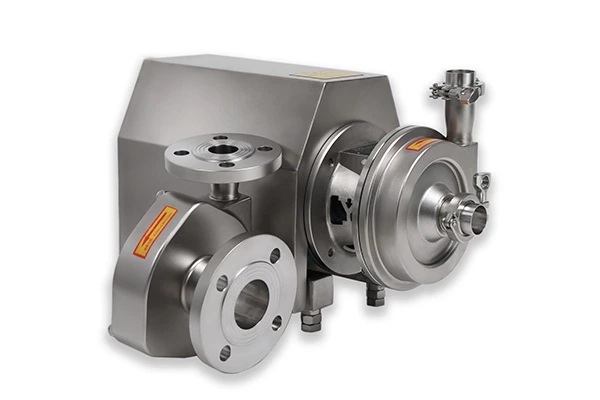
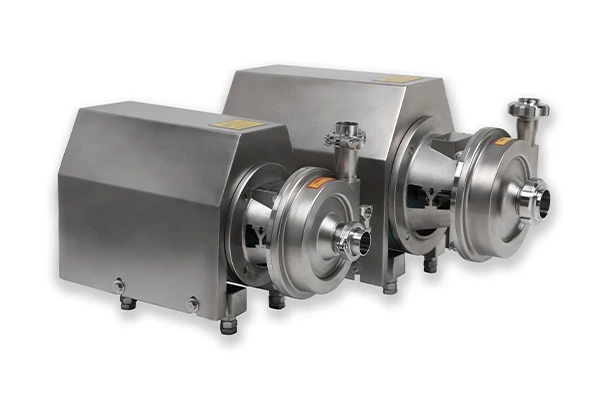
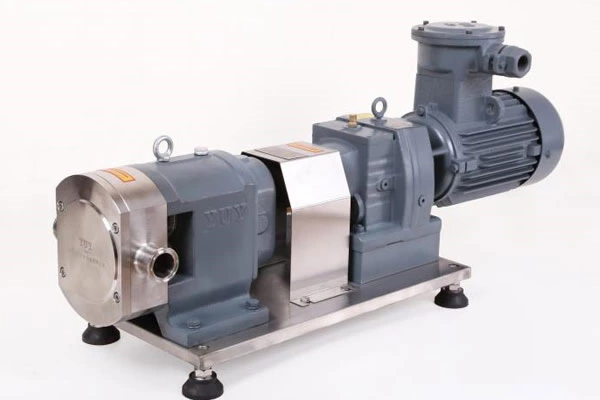
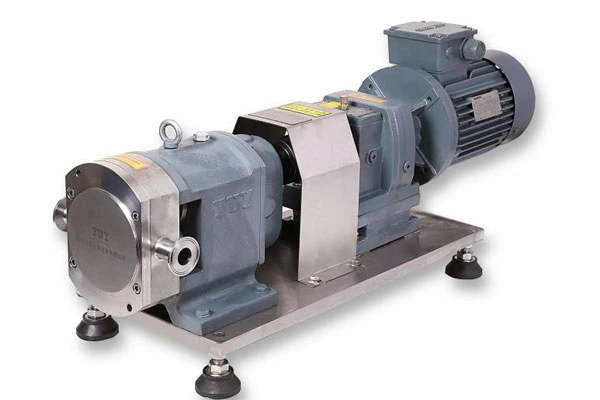
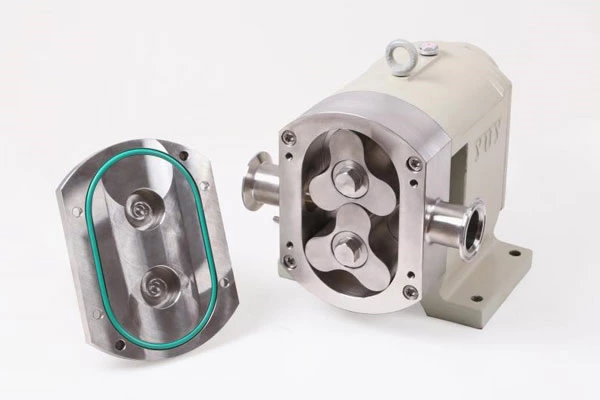
Correct use of Sanitary Centrifugal Pump
1. Application and scope of application IH chemical pump can deliver medium at -20℃~105℃. When necessary, cooling measures can be adopted to deliver medium at higher temperature. It is suitable for chemical, petroleum, metallurgy, electricity, papermaking, food, pharmaceutical and synthetic fiber industries to deliver various corrosive or water-like media that cannot be polluted.
2. Pump structure description
(1) IH chemical pump is designed according to the performance and size specified by international standards such as IS02858-1975(E). The pump cover is fixed on the middle bracket through the stopper, and then the pump cover is clamped in the middle through the connection between the pump body and the stopper of the middle bracket. The pump body is axially inhaled, radially discharged, and foot-supported. It can be directly fixed on the base. The suspension parts are fixed on the middle bracket through the stopper and fixed on the base with the suspension bracket. The bearings are lubricated with engine oil or grease. Users can choose the appropriate material for the contact part.
(2) The rotation direction of the pump is clockwise from the drive end.
3. Assembly and disassembly of the pump
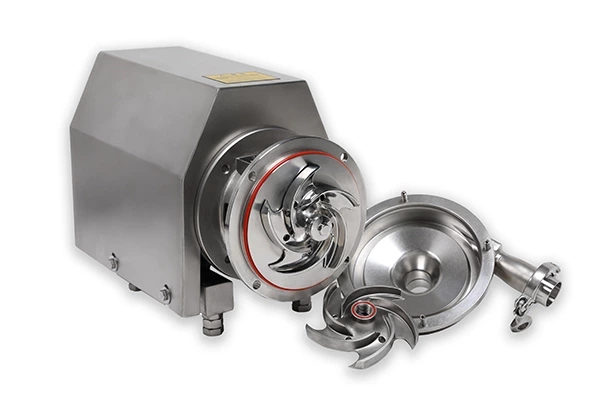
(1) Disassembly sequence of the pump
a. Unscrew the drain pipe plug on the pump body and the drain pipe plug on the suspension, drain the liquid in the pump and the oil in the oil storage chamber in the suspension. If there is an external liquid sealing pipeline, it should be removed.
b. Remove the connecting bolts between the pump body and the intermediate bracket, and remove all the rotor components including the intermediate bracket and suspension components from the pump body.
c. Loosen the impeller nut and remove the impeller and key.
d. Remove the pump cover and shaft sleeve, mechanical seal end cover and mechanical seal components from the shaft together. Be careful not to let the shaft sleeve and pump cover slide relative to each other.
e. Remove the intermediate bracket and suspension bracket.
f. Remove the front and rear bearing covers at both ends of the suspension, and then remove the shaft and bearings from the suspension.
g. Disassemble the bearings and shaft
(2) Assembly of the pump
The assembly sequence of the pump can basically be carried out in the opposite direction of the disassembly sequence. However, during assembly, check that the gaskets on each sealing surface are intact, and be careful not to miss any gaskets or replace incomplete gaskets.
4. Pump installation
(1) After unpacking, check the pump and motor. If there is no damage caused by transportation and the outlet cover is intact, there is no need to disassemble and assemble them again. They can be sent directly to the site for installation.
(2) The foundation plane for installing the pump should be leveled with a level. After the foundation cement solidifies, install the pump on the foundation and use a level to check the level of the pump and motor shafts.
(3) After the cement is dry, check whether the base and anchor bolt holes are loose. If they are suitable, tighten the anchor bolts.
(4) When the motor, pump and base are reinstalled, strictly check the concentricity of the pump shaft and the motor shaft.
(5) The suction pipe and discharge pipe of the pump should have their own brackets. The weight of the pipe should not be directly borne by the pump to avoid damaging the pump.
(6) When the pump is installed above the liquid level, a bottom valve should be installed at the end of the suction pipe. A filling screw hole or valve is set on the discharge pipeline for filling the pump before starting.
5. Use of the pump
(1) Starting
a. Prepare necessary tools.
b. Check the oil level in the oil storage chamber of the suspension body and control it at a position about 2 mm from the center line of the oil level gauge.
c. Check whether the rotation direction of the motor is correct. Reversal is strictly prohibited.
d. Turn the coupling by hand. It should feel easy and even.
e. When the installation position of the pump is lower than the liquid level, the gate valve of the suction pipeline should be opened before starting to fill the pump with liquid. If the pump is installed above the liquid level, fill the pump or pump air before starting to fill the pump and the suction pipe with liquid and exhaust the air in the pump.
f. Close the inlet and outlet pressure gauges and pressure pipeline pressure valves, start the motor, open the inlet and outlet pressure gauges, and open the outlet pipeline gate valve to the required position.
(2) Operation
a. Check the temperature rise of the pump and motor frequently. The temperature rise of the bearing should not be greater than 75 degrees Celsius.
b. Pay attention to the changes in the oil level in the suspension body oil storage chamber and keep it within the specified range. To keep the oil clean and well lubricated, new oil should be replaced regularly according to the actual situation of on-site use.
c. During operation, if abnormal sounds or other faults are found, the pump should be stopped immediately for inspection and the operation can be continued only after the faults are eliminated.
d. The gate valve on the suction pipeline is not allowed to be used to adjust the flow to avoid cavitation.
e. The pump cannot be operated for a long time at a flow rate lower than 30% of the design flow rate. If it must be used under this condition, a bypass pipe should be installed on the outlet pipeline to make the pump flow rate reach the use range.
(3) Stop
a. Slowly close the outlet pipeline gate valve and stop the motor.
b. Close the inlet and outlet pressure gauges. In the case of filling, the suction pipeline gate valve should also be closed.
c. If the ambient temperature is lower than the solidification temperature of the liquid, drain the liquid in the pump to prevent freezing and cracking.
d. If the pump is not used for a long time, rinse it with clean water and seal the inlet and outlet of the pump and store it properly.
6. Precautions for using mechanical seals
(1) Mechanical seals are generally suitable for clean media without suspended particles. The installed pipeline system and liquid storage tank should be carefully rinsed to prevent solid impurities from entering the mechanical seal end face and causing the seal to fail.
(2) When using mechanical seals in media that are easy to crystallize, pay attention to frequent flushing.
(3) Mechanical seals should be carefully disassembled and hammers, iron tools, etc. are not allowed to be used to knock, so as not to damage the dynamic and static ring sealing surfaces.
(4) If there is dirt that cannot be removed, do not force it to be removed. Try to remove the dirt and rinse it clean.
(5) Before installing the mechanical seal, check whether all sealing components are invalid or damaged. If so, replace them.
(6) The grinding seal end faces of the dynamic ring and the static ring should be strictly checked. No scratches, dents, or other defects are allowed.
(7) Pay attention to deviation during assembly. When tightening the screws, tighten them evenly to avoid deflection and seal failure.
(8) Correctly adjust the compression of the spring so that it is not too tight or too loose.
(9) For mechanical seals with external flushing, the flushing liquid should be turned on before starting to fill the sealing chamber with sealing liquid. When stopping, stop the machine first and then turn off the sealing flushing liquid.
